Wouxun Handheld (charger) Repair
Quite a few years ago Lake Area Radio Klub made a group purchase of Wouxun handheld radios as shown in picture #1. The radios have proven to be pretty good performers, and quite reliable especially when considering the price that was paid. If there has been a problem with the radio it is almost always with the charger.
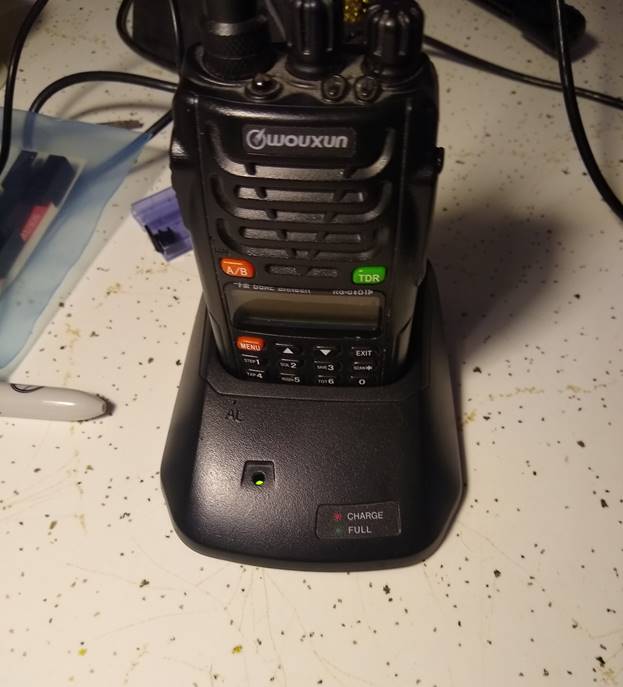
Picture #1 Wouxun dual band radio in charger (N0DL Photo)
The symptoms of the charger problem are not really obvious, as the LED will often continue to operate, and act as if the radio is fully charged when in fact it is not – or -- When first powered the charger light will flash green once then flash orange continuously until powered down. At first glance your thought might be the battery has failed, but generally this is not the case. In reality the charger is not charging the battery. There are also issues with making good contact between the battery and the charger, but close examination and proper insertion of the radio into the charger will compensate for contact issue.
The good news is the charger is pretty easy to repair. The transistor controlling the charge current has a tendency to overheat and fail. The circuit board outline shows a heat sink attached to the transistor, but at some point Wouxun decided to leave this part out. If your charger has failed you will need to replace the transistor, and I would recommend adding a heat sink. If your charger still works adding a heat sink is probably still a good idea.
The charger can be opened by removing the screws hidden underneath the rubber pads on the bottom of the unit. This is shown in picture #2.
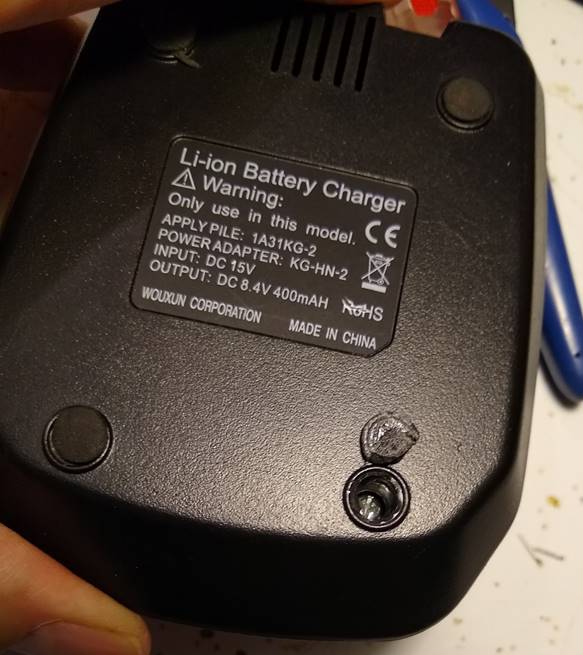
Picture 2 – Screws hidden beneath pads on bottom of charging cup (N0DL Photo)
After dis-assembly you can see the simple circuit board. The circuit board calls for a 2SB546 transistor which is now obsolete. More good news as many able replacements are available for this PNP transistor. The replacement shown in picture #3 is a KSA940TU. Note the legs (emitter collector, base) of the replacement are in a different order than the original 2SB546 as also shown in picture #3.
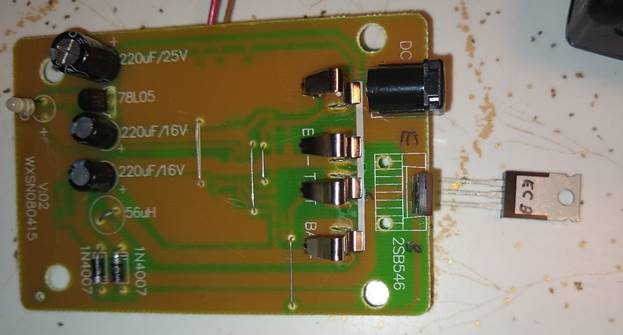
Picture 3 Circuit board and replacement transistor (N0DL Photo)
Replacing the transistor is not too difficult just remember the emitter, base and collector need to go into the proper holes. Picture #4 shows the replacement in place with the heat sink attached. The object of the heat sink is to increase the surface area of the transistor to dissipate more heat. It was placed on the new transistor in a manner that is technically backwards, but it will fit in the case that way and still increases the heat dissipating surface area of the transistor. Remember the original worked for a while with no heat sink, so this arrangement is a definite improvement.

Picture 4 Replacement transistor on board w/ heatsink (N0DL Photo)
Picture #5 shows the repaired circuit board ready for re-assembly back into the charger case. Once repaired the charger should provide many more years of service. The KSA940TU transistor and heat sink are available from Digi-Key. I hope this helps you get many more years out of your Wouxun. I didn’t take pictures when I repaired mine. A special thanks goes out to Dave, N0DL for taking the pictures of the repair of his unit that are shown here.
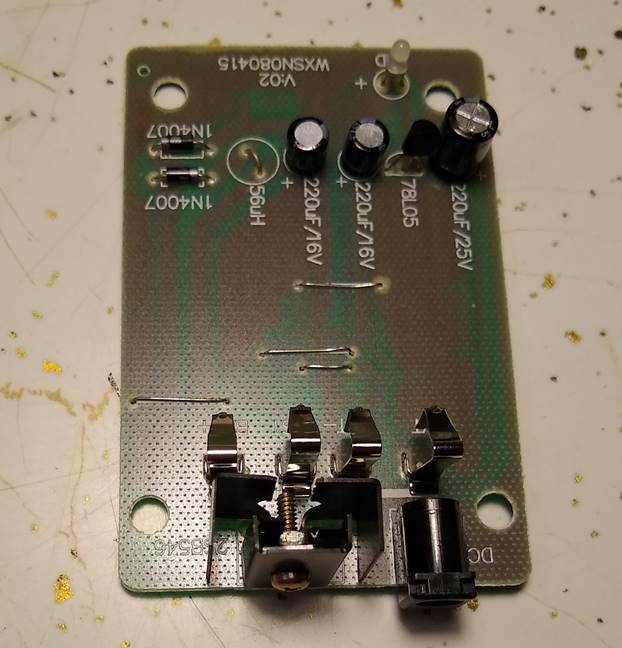
Picture 5 Circuit board ready to go back into case. (N0DL Photo)
Return to http://www.kk0sd.net