The Story of my HF Tower Page 2 (at my Former Kampeska QTH)
I let everything cure for a month or so. Then it was time to pay for my mistakes...
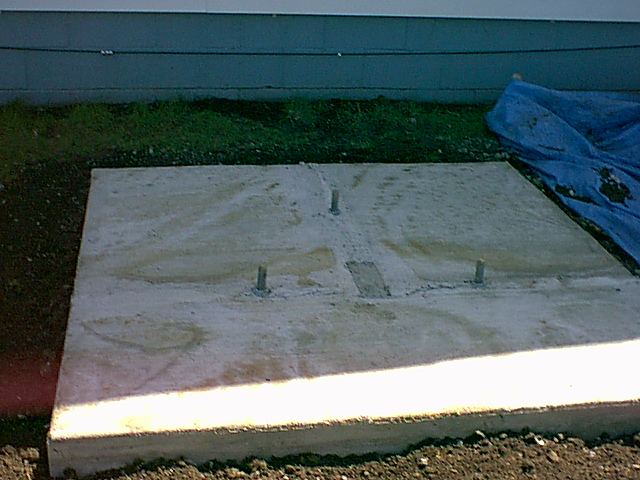

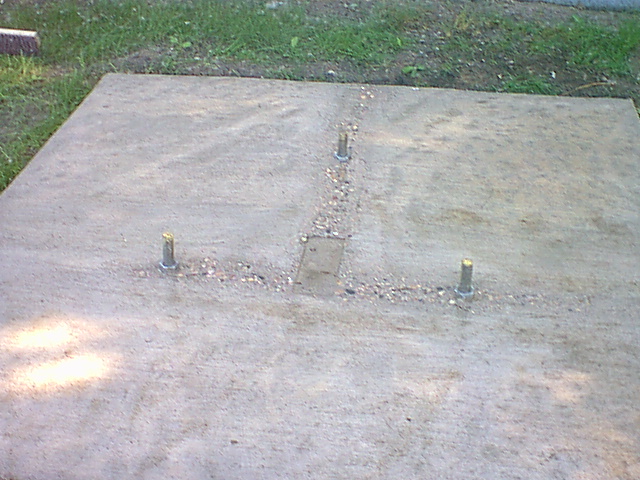
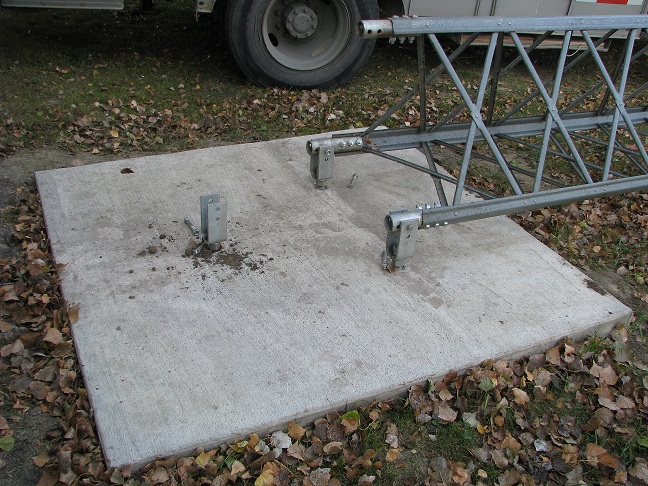
As you can see it was time to pay for my poorly designed template. I bought a concrete wheel for my little angle grinder and removed the bumps.
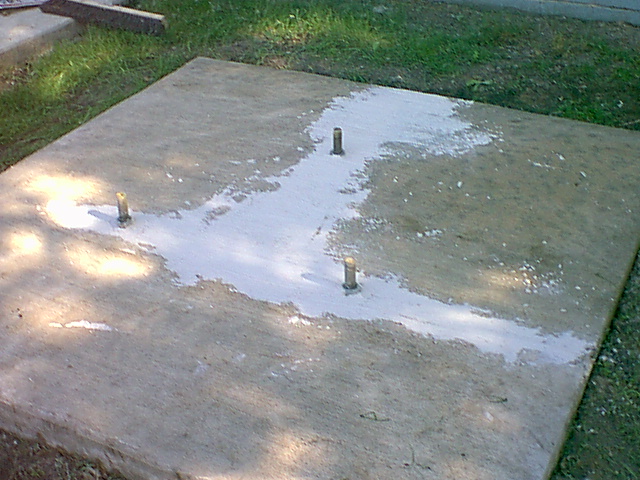
I grouted over my ground areas and let the grout dry.


The hexbeam mount accepts a 1.25" pipe. The rotor and tower are really built for a 2" outer diameter mast. I had a local machine shop make the mast shown in the picture. It cost a little under $40. I sanded, primed and painted the mast.
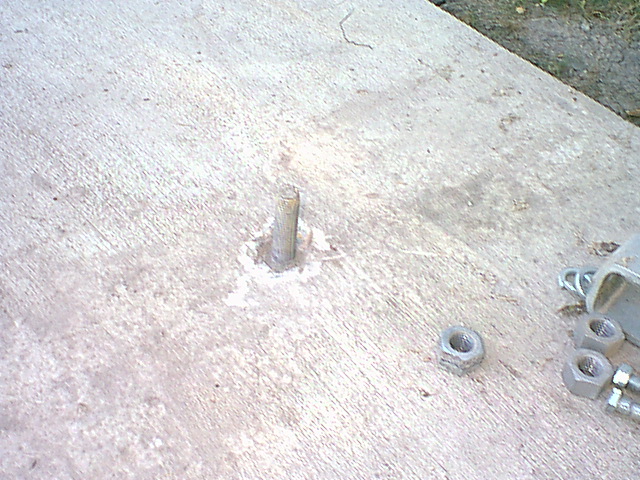
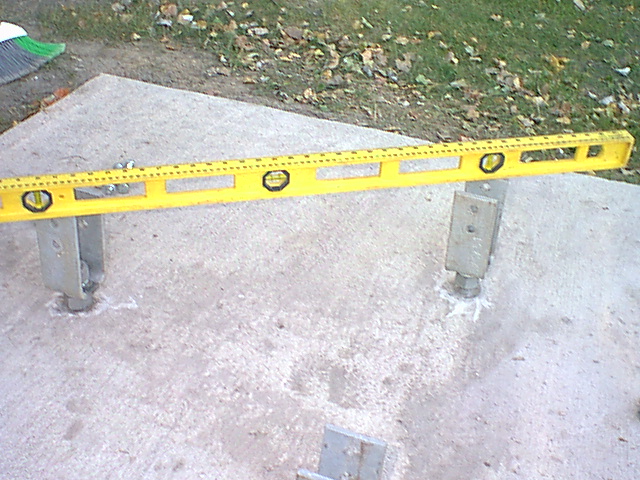
Well, when I placed that template I had nuts both above and below the template. When I cleaned and grouted the concrete I did not grind and dig out the nuts that had been on the bottom of the template. This was another mistake that I had to remedy when I tried to level the base. More grinding, more grouting, but it is level and the nuts are fully threaded! I would recommend to not place any nuts on the underside of the template.
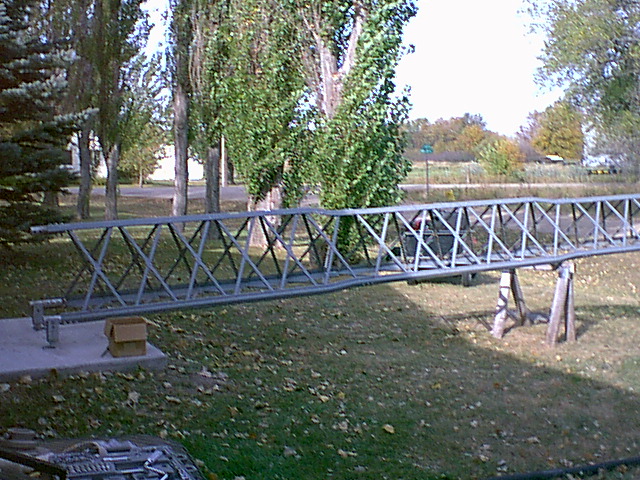
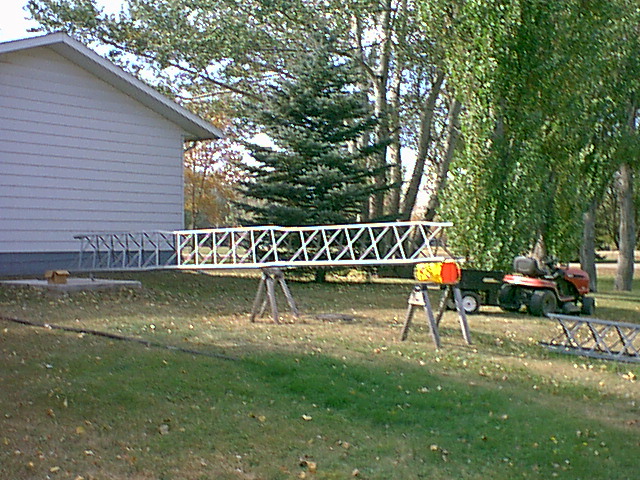
I assembled the sections by myself. I probably should have gotten help, but I was able to manhandle them in place and hold them with saw horses as I bolted them together one at a time. It is a amazing how strong a cat litter bucket is! I got the bolts holding the sections together good and tight.
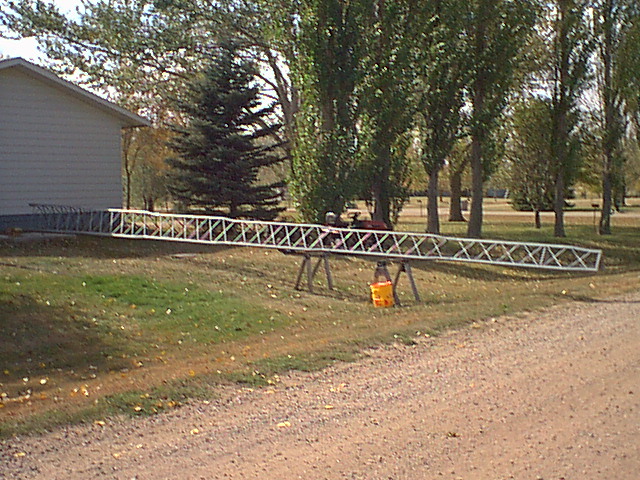
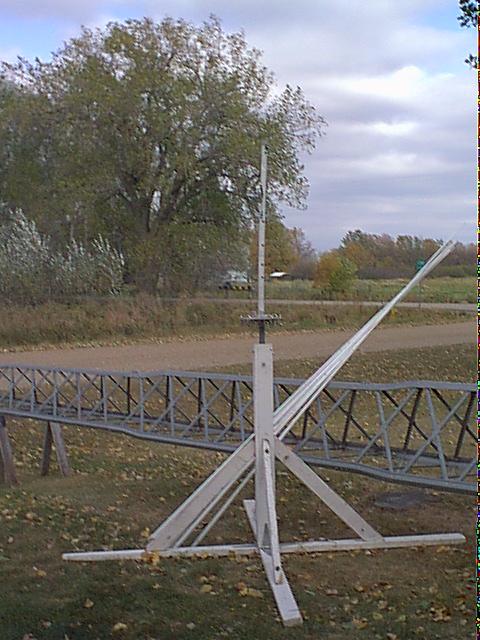
I assembled the tower to make sure everything fit, and then removed the top section as it hung out very close to the road. I marked how it had gone together, so I would be sure it would go back together. Finally, time to assemble the antenna!
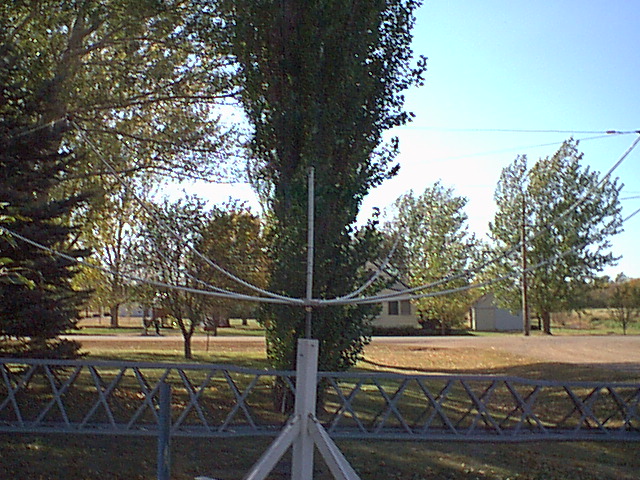
There is the hexbeam fully Assembled. It went together pretty easy. The stand holding the hexbeam will be the subject of a future web article. The other picture is just a nice shot of the hinged base that will make all of this happen.
Next Page
Home